M A T E R I A L S
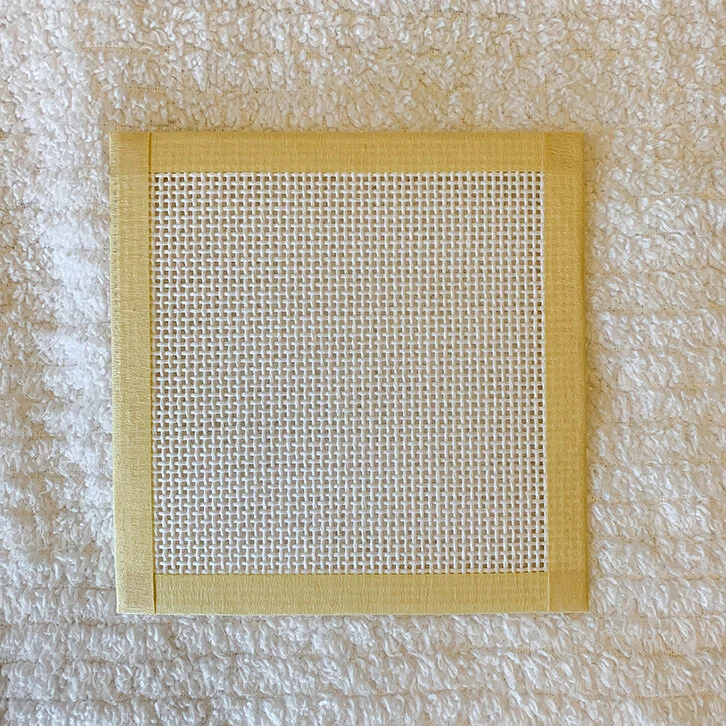


Blank Canvas (cut to 4.25” square and taped) and Thread from Magic City Needlepoint
Cork for Finishing
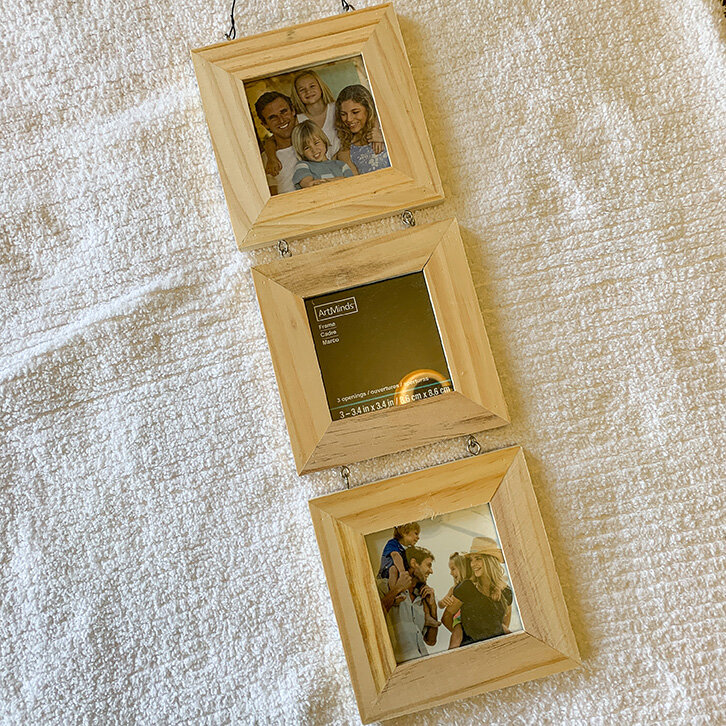
Frames (dismantle and finish how you would like)
Cork for Backing
F I N I S H I N G P R O C E S S

You’re done and now it is time to start the finishing process!

Dip your canvas in one swoop through cool water

Sir Spencer likes to help with this process

Now that you’ve wet your canvas, you need to let it rest for about a 1/2 hour

The wet canvas is resting underneath Sir Spencer

Now you can gently pull the edges until your get a square(ish) shape

I use this cork to pin the canvas (see materials above)
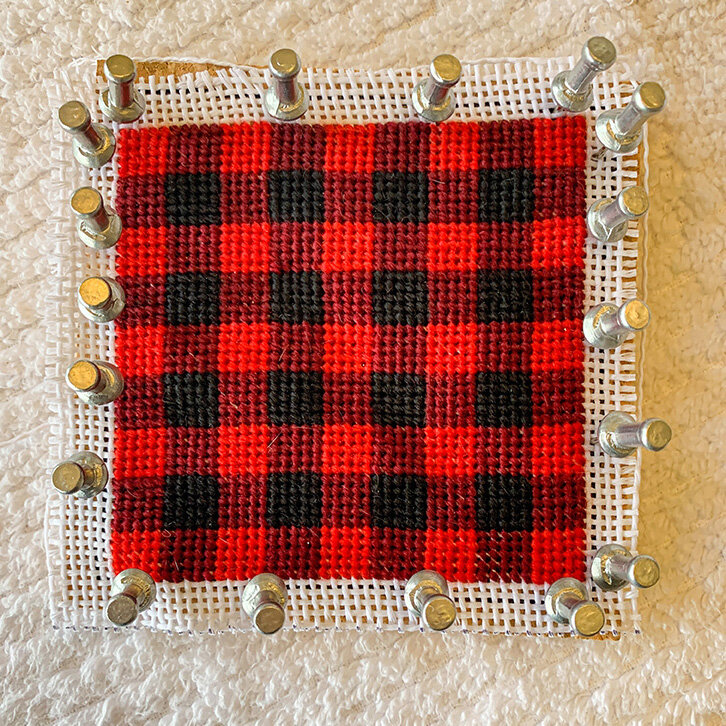
Get it squared up as best you can and let dry overnight. I’ve gotten better at squaring up the canvas as each project goes on - do your best, folks!

Trim to edge CAREFULLY!

Insert into frame
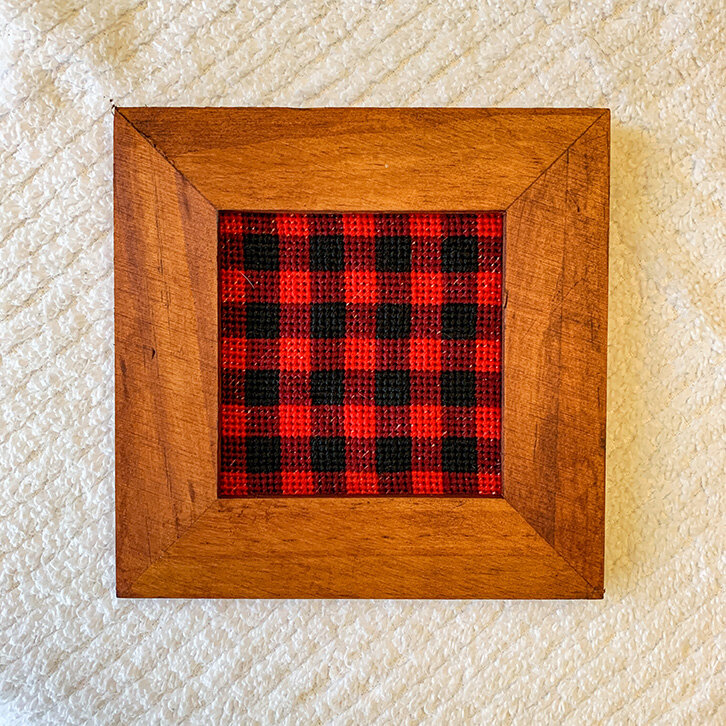
Done! (don’t forget to remove any cat hairs - oops!)